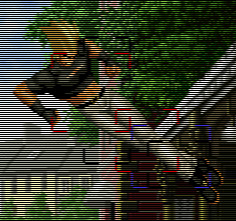
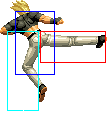
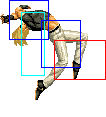
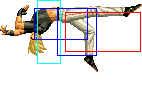
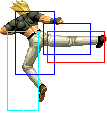
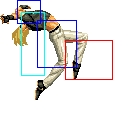
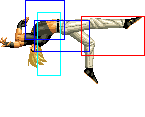
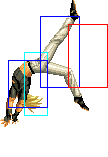
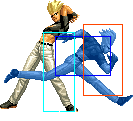
| Line 130: | Line 130: | ||
|align="center"| HL | |align="center"| HL | ||
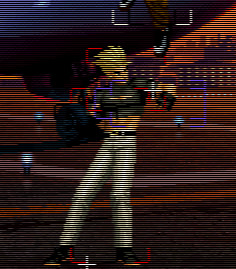
|colspan="2" | [[image:Beni_cl_A.jpg|center]] | |colspan="2" | [[image:Beni_cl_A.jpg|center]] | ||
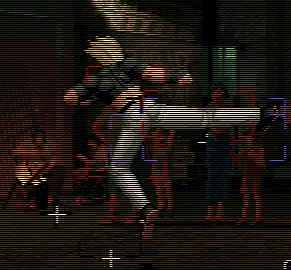
| | |This move is really useless | ||
|- | |- | ||
! [[image:snkb.gif]] | ! [[image:snkb.gif]] | ||
| Line 139: | Line 138: | ||
|align="center"| HL | |align="center"| HL | ||
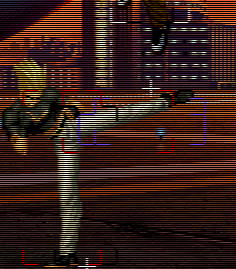
|colspan="2" | [[image:Beni_cl_B.jpg|center]] | |colspan="2" | [[image:Beni_cl_B.jpg|center]] | ||
| | |Like cl.A, generally it's not a move you will use often in matches situations | ||
|- | |- | ||
! [[image:snkc.gif]] | ! [[image:snkc.gif]] | ||
| Line 157: | Line 155: | ||
|align="center"| HL | |align="center"| HL | ||
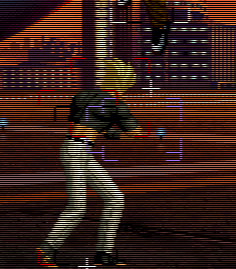
|colspan="2"| [[image:Beni_cl_D.jpg|center]] | |colspan="2"| [[image:Beni_cl_D.jpg|center]] | ||
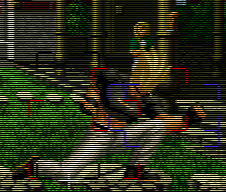
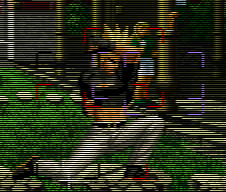
| | |Nice as meaty attack. You can also combo it after cr.A. | ||
|- | |- | ||
|colspan="8" align="center"| '''Standing Far''' | |colspan="8" align="center"| '''Standing Far''' | ||
| Line 167: | Line 165: | ||
|align="center"| HL | |align="center"| HL | ||
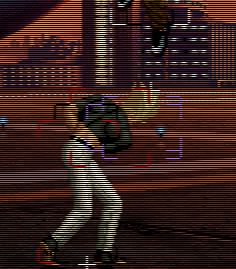
|colspan="2" | [[image:Beni_stA.jpg|center]] | |colspan="2" | [[image:Beni_stA.jpg|center]] | ||
| | |Solid move vs short hop | ||
|- | |- | ||
! [[image:snkb.gif]] | ! [[image:snkb.gif]] | ||
| Line 176: | Line 173: | ||
|align="center"| HL | |align="center"| HL | ||
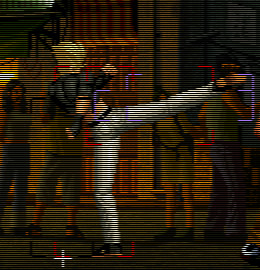
|colspan="2" | [[image:Beni_st_B.jpg|center]] | |colspan="2" | [[image:Beni_st_B.jpg|center]] | ||
| | |Very splashable move of Benimaru, with wonderful priority, reach and startup. This is the best poke move of Benimaru and even of game. You can use it also as chain ender. This move beats very many opponent's moves thus | ||
|- | |- | ||
! [[image:snkc.gif]] | ! [[image:snkc.gif]] | ||
| Line 185: | Line 181: | ||
|align="center"| HL | |align="center"| HL | ||
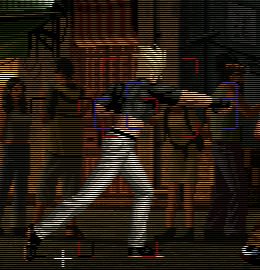
|colspan="2" | [[image:Beni_stC.jpg|center]] | |colspan="2" | [[image:Beni_stC.jpg|center]] | ||
| | |Very good mid-range poke move of Benimaru with good priority. Effective vs short hop. However it whiffs on crounchers. | ||
|- | |- | ||
! [[image:snkd.gif]] | ! [[image:snkd.gif]] | ||
| Line 193: | Line 189: | ||
|align="center"| HL | |align="center"| HL | ||
|colspan="2"| [[image:Beni_stD.jpg|center]] | |colspan="2"| [[image:Beni_stD.jpg|center]] | ||
| | |Slow move but very good long/mid-range poke move of Benimaru also which beat many standing and normal moves of game | ||
|- | |- | ||
! [[image:snkc.gif]]+[[image:snkd.gif]] | ! [[image:snkc.gif]]+[[image:snkd.gif]] | ||
| Line 211: | Line 207: | ||
|align="center"| HL | |align="center"| HL | ||
|colspan="2" | [[image:Beni_crA.jpg|center]] | |colspan="2" | [[image:Beni_crA.jpg|center]] | ||
| | |1 frame slowest than cr.B but with better recovery. Links into cl.D and can combo into qcf+A or qcb+A for block string | ||
Chain: repeatable | Chain: repeatable | ||
|- | |- | ||
| Line 220: | Line 216: | ||
|align="center"| L | |align="center"| L | ||
|colspan="2" | [[image:Beni_cr_B.jpg|center]] | |colspan="2" | [[image:Beni_cr_B.jpg|center]] | ||
| | |Benimaru's great normal move. This is also his main combo starter and his "footsies" move. | ||
Chain: repeatable | Chain: repeatable | ||
|- | |- | ||
| Line 238: | Line 234: | ||
|align="center"| L | |align="center"| L | ||
|colspan="2"| [[image:Beni_cr_D.jpg|center]] | |colspan="2"| [[image:Beni_cr_D.jpg|center]] | ||
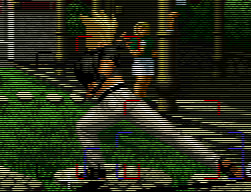
| | |Interesting move as meaty attack and whiff cancelable if someone short hops it. | ||
|- | |- | ||
|colspan="8" align="center"| '''Jump''' | |colspan="8" align="center"| '''Jump''' | ||
| Line 256: | Line 252: | ||
|align="center"| H | |align="center"| H | ||
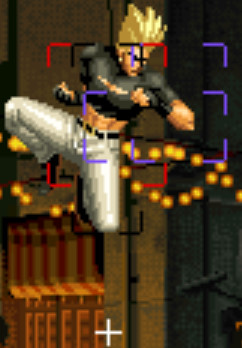
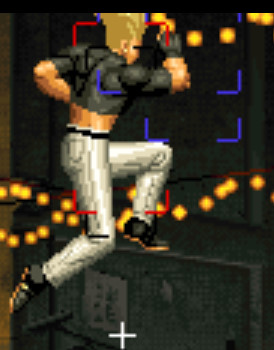
|colspan="2" | [[image:Beni_j_B.jpg|center]] | |colspan="2" | [[image:Beni_j_B.jpg|center]] | ||
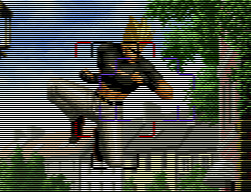
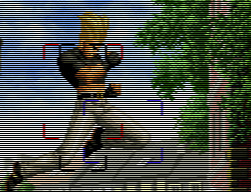
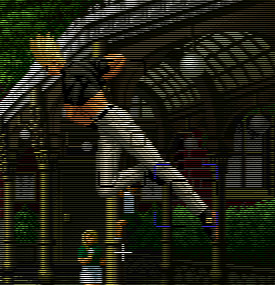
| | |Benimaru's instant overhead. This move is fast, great priority, is active a long time and crossup. His best jump-in with j;D | ||
|- | |- | ||
! [[image:snkc.gif]] | ! [[image:snkc.gif]] | ||
| Line 273: | Line 269: | ||
|align="center"| H | |align="center"| H | ||
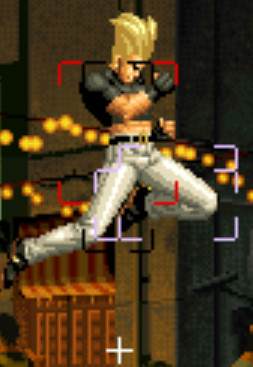
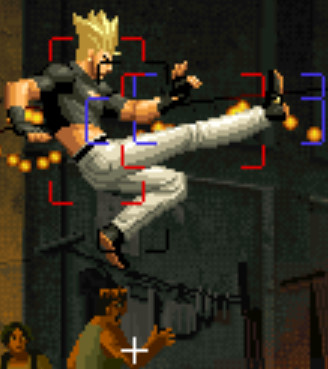
|colspan="2"| [[image:Beni_j_D.jpg|center]] | |colspan="2"| [[image:Beni_j_D.jpg|center]] | ||
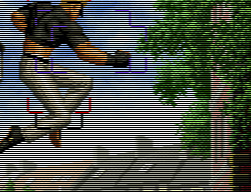
| | |Good air-to-air move. Good priority, good reach and easily crossup. Generally his main jump-in | ||
|- | |- | ||
! [[image:snkc.gif]]+[[image:snkd.gif]] | ! [[image:snkc.gif]]+[[image:snkd.gif]] | ||
| Line 281: | Line 277: | ||
|align="center"| HL | |align="center"| HL | ||
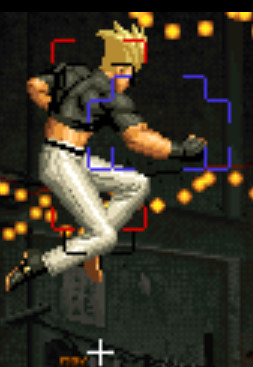
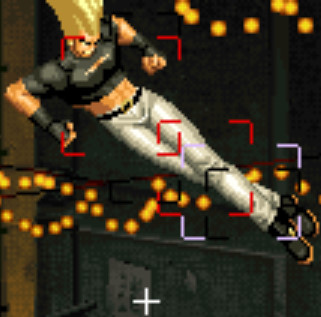
|colspan="2"| [[image:Beni_j_CD.jpg|center]] | |colspan="2"| [[image:Beni_j_CD.jpg|center]] | ||
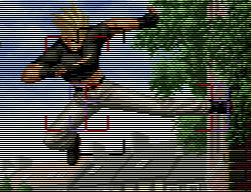
| | |Slow but withh good priority | ||
|- | |- | ||
|colspan="8" align="center"| '''Neutral Jump''' | |colspan="8" align="center"| '''Neutral Jump''' | ||
| Line 339: | Line 335: | ||
|colspan="2" | [[image:Beni_j+d_D.jpg|center]] | |colspan="2" | [[image:Beni_j+d_D.jpg|center]] | ||
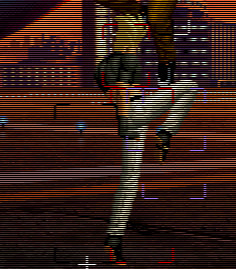
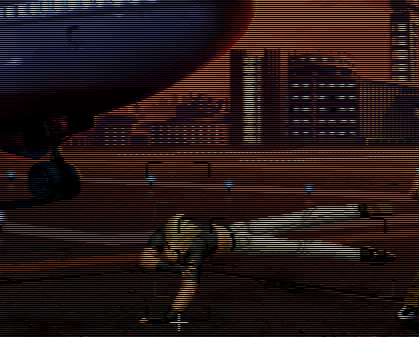
| '''Flying Drill - d+D (air)'''<br> | | '''Flying Drill - d+D (air)'''<br> | ||
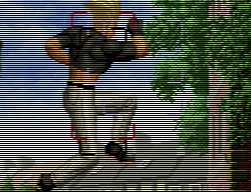
|Useful move to BEnimaru's pressure/mixups. | |||
|- | |- | ||
|colspan="8" align="center"| '''Special Moves''' | |colspan="8" align="center"| '''Special Moves''' | ||
| Line 350: | Line 346: | ||
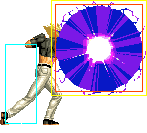
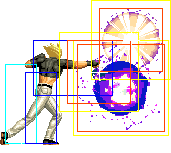
|valign="bottom" colspan="2" style="border-right:0px;"| [[image:Bandicam_2018-09-28_00-57-32-715.jpg|center|]] | |valign="bottom" colspan="2" style="border-right:0px;"| [[image:Bandicam_2018-09-28_00-57-32-715.jpg|center|]] | ||
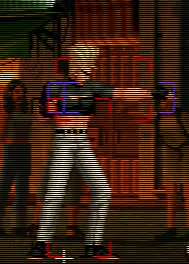
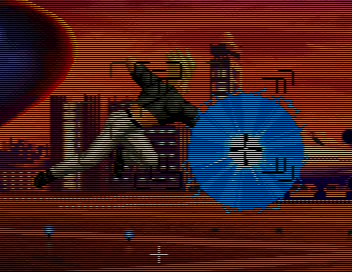
| '''Raijin Ken - qcf+A''' | | '''Raijin Ken - qcf+A''' | ||
* Benimaru extends his arm forward and a ball of energy surrounds his hand | * Benimaru extends his arm forward and a ball of energy surrounds his hand. His main block string and combo ender move. | ||
|- | |- | ||
! qcf+[[image:snkc.gif]] | ! qcf+[[image:snkc.gif]] | ||
Revision as of 01:54, 11 August 2020
Introduction
The famous electric seducer and Kyo's Friend in KOF.
Top-tier character (best character of game among no-banned characters).
Existing in all the teams or almost.
Benimaru is a poking, footsies and block strings based character
Movelist
THROWS-------------------------------------------------------------------------
Catch and Shoot >> When close - b / f + C
Front Suplex >> When close - b / f + D
Spinning Knee Drop >> When close in the air - any dir. except u + C / D
COMMAND ATTACKS----------------------------------------------------------------
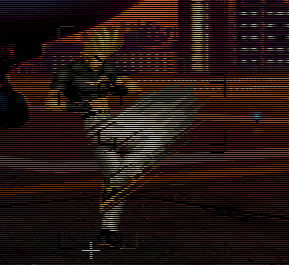
Jackknife Kick >> f + B >> No Overhead.
   Evades several low attacks.
   Can be cancelled into a special move or DM move.
Flying Drill >> In the air - d + D
SPECIAL MOVES------------------------------------------------------------------
Iai-geri >> qcf + K >> Can be followed with Handou Sandan Geri.
/Handou Sandan Geri >> After Iai-geri - d, u + K
Shinkuu Katategoma >> qcb + P
Raijin Ken >> qcf + P
Kuuchuu Raijin Ken >> In the air - qcf + P
DESPERATION MOVES--------------------------------------------------------------
Raikou Ken >> qcf, qcf + A
Gen'ei Hurricane >> qcf, qcf + K >> Evades 1-hit strong normal attack and specials.
In-depth Analysis
Qualities :
- He's the alone character of game who can call a striker and guard at same time
- Builts meter very quickly
- Almost all his normal attacks get good hitbox (thus good priority), good reach (same thing for his jump attacks), fast recovery and startup (who permits him to have a good frame trap gameplay thus)
- very good mixup with his crossup j.d (good for okizeme), his air throw, his option select cr.b > cr.c (https://www.youtube.com/watch?v=uEGLuOaBdwY), his meaty cl.d
- Stun fastly opponent
- His normal attacks manage opponent's striker well (especially the most used strikers Clark and Kasumi)
- His cr.c is low crouching thus permit to pass opponent's high jump attacks
Faults :
- no reversal
- Gen'ei Hurricane (qcf, qcf + K) pass in counter mode only in combo
- bad damage to a top tier
Combos
cr.Bx1-3 > qcf+K > d,u+K
cr.C > qcb+C or qcf,qcf+A
Jump Attack > cl.C or cl.D > qcf+A or qcf+K or qcb+P or qcf,qcf+A
cr.A > cl.D > qcf+A or qcf+K or qcb+P or qcf,qcf+A
cr.Bx1-3 > qcf,qcf+A
Frame Data and Hitboxes
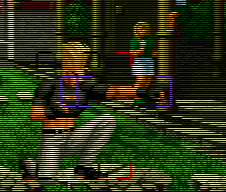
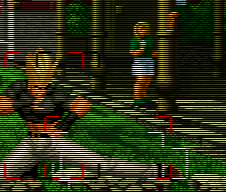
Red Color = Hurtbox
Purple / White Color = Hitbox
H = High
L = Low
C = Cancel
KD = Knock Down
R = Safe on Hit and Block
For Special Moves :
Black Color = Hitbox
Yellow = Fireball
