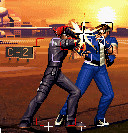
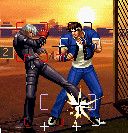
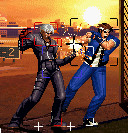
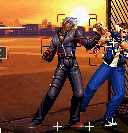
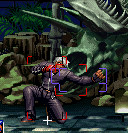
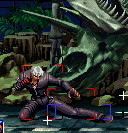
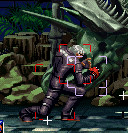
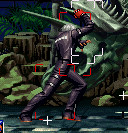
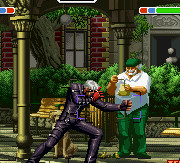
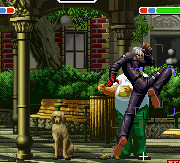
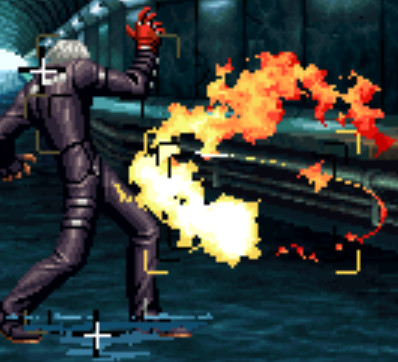
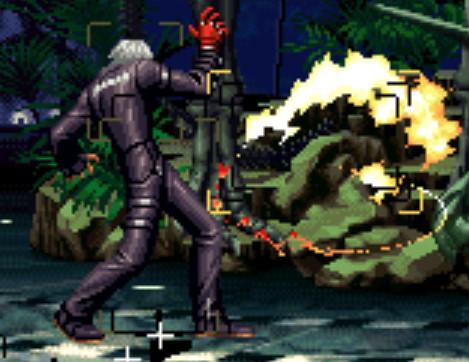
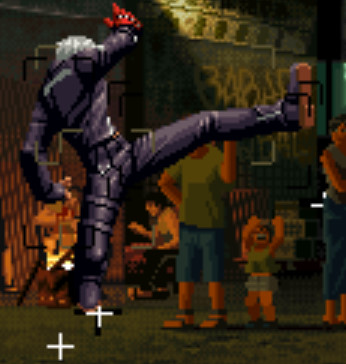
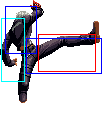
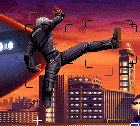
| Line 201: | Line 201: | ||
|align="center"| HL | |align="center"| HL | ||
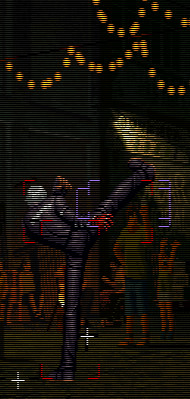
|colspan="3" | [[image:K'_stA.jpg|center]] | |colspan="3" | [[image:K'_stA.jpg|center]] | ||
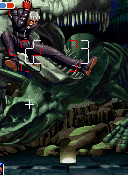
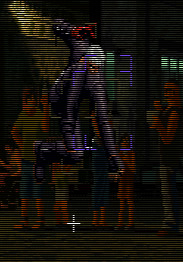
| | |This move is needed vs short hop. It's although the alone good normal attack move vs shot hop of K'. | ||
|- | |- | ||
! [[image:snkb.gif]] | ! [[image:snkb.gif]] | ||
| Line 209: | Line 209: | ||
|align="center"| HL | |align="center"| HL | ||
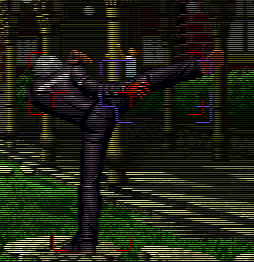
|colspan="3" | [[image:K'_stB.jpg|center]] | |colspan="3" | [[image:K'_stB.jpg|center]] | ||
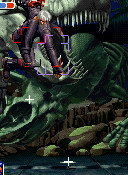
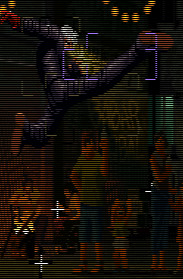
| | |You use this move to combo with cr.B when you want to block string opponent | ||
|- | |- | ||
! [[image:snkc.gif]] | ! [[image:snkc.gif]] | ||
| Line 217: | Line 217: | ||
|align="center"| HL | |align="center"| HL | ||
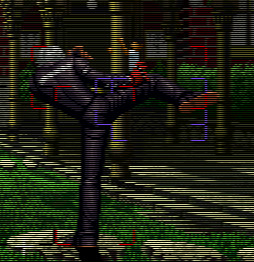
|colspan="3" | [[image:K'_stC.jpg|center]] | |colspan="3" | [[image:K'_stC.jpg|center]] | ||
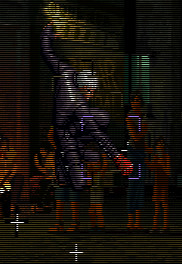
| | |Use this move for long-range poke opponent. far.C and far.D are only effective for that | ||
|- | |- | ||
! [[image:snkd.gif]] | ! [[image:snkd.gif]] | ||
| Line 245: | Line 245: | ||
|align="center"| HL | |align="center"| HL | ||
|colspan="3" | [[image:K'_crA.jpg|center]] | |colspan="3" | [[image:K'_crA.jpg|center]] | ||
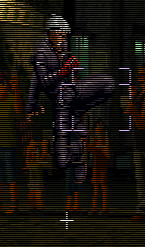
| | |His main meaty attack in this game. | ||
|- | |- | ||
! [[image:snkb.gif]] | ! [[image:snkb.gif]] | ||
| Line 253: | Line 253: | ||
|align="center"| L | |align="center"| L | ||
|colspan="3" | [[image:K'_crB.jpg|center]] | |colspan="3" | [[image:K'_crB.jpg|center]] | ||
| | |Main crounch move comboing tool | ||
|- | |- | ||
! [[image:snkc.gif]] | ! [[image:snkc.gif]] | ||
| Line 262: | Line 262: | ||
|valign="bottom" style="border-right:0px;"| [[image:K'_crC_1.jpg|center]] | |valign="bottom" style="border-right:0px;"| [[image:K'_crC_1.jpg|center]] | ||
|valign="bottom" style="border-left:0px;" colspan="2"| [[image:K'_crC_2.jpg|center]] | |valign="bottom" style="border-left:0px;" colspan="2"| [[image:K'_crC_2.jpg|center]] | ||
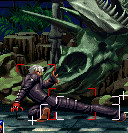
| | |One of anti-air of K' | ||
|- | |- | ||
! [[image:snkd.gif]] | ! [[image:snkd.gif]] | ||
| Line 270: | Line 270: | ||
|align="center"| L | |align="center"| L | ||
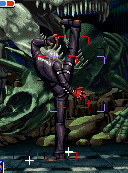
|colspan="3" | [[image:K'_crD.jpg|center]] | |colspan="3" | [[image:K'_crD.jpg|center]] | ||
| | |Cancelable and easy to whiff cancel. You can use it for mid-range zoning by whiff-cancelling qcf+A or qcb+B | ||
|- | |- | ||
|colspan="9" align="center"| '''Jump''' | |colspan="9" align="center"| '''Jump''' | ||
| Line 288: | Line 288: | ||
|align="center"| H | |align="center"| H | ||
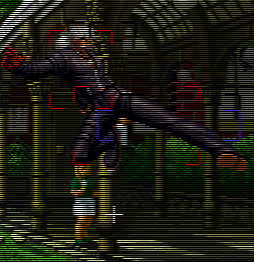
|colspan="3" | [[image:K'_jump_B.jpg|center]] | |colspan="3" | [[image:K'_jump_B.jpg|center]] | ||
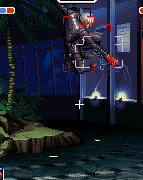
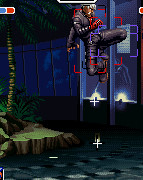
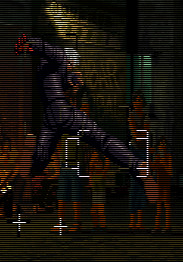
| | |Best jump attack of K' like it stay out during full jump and you use it like your main jumping attack with jump.D | ||
|- | |- | ||
! [[image:snkc.gif]] | ! [[image:snkc.gif]] | ||
| Line 313: | Line 313: | ||
|align="center"| HL | |align="center"| HL | ||
|colspan="3"| [[image:K'_jump_CD.jpg|center]] | |colspan="3"| [[image:K'_jump_CD.jpg|center]] | ||
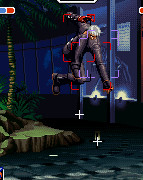
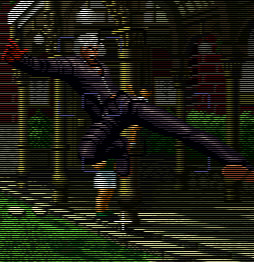
| | |Use this move to air-ground. Good priority | ||
|- | |- | ||
|colspan="9" align="center"| '''Neutral Jump''' | |colspan="9" align="center"| '''Neutral Jump''' | ||
Revision as of 19:26, 10 August 2020
Introduction
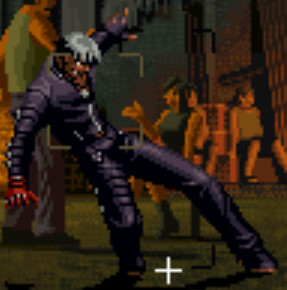
The new hero of KOF and Kyo's Rival.
Mid tier character.
Zoning and Poking character.
Crouch height: Low
Jump : 3/33/1
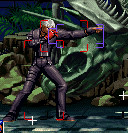
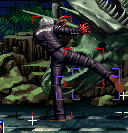
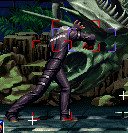
| Stand | Crouch | Backdash | Run |
|---|---|---|---|
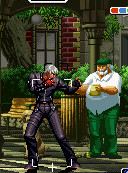
|
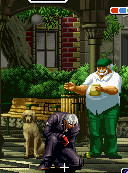
|
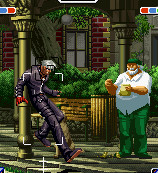
|
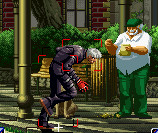
|
In-depth Analysis
Qualities :
- Good damage
- His impassable j.b
- good juggle combos
- His j.qcb.b who can surprise in air-to-air
- Builts meter quickly
- Fastest short hop of game
Faults :
- His ineffective Chain Drive (qcf, hcb + P) in matches (bad startup, don't pass on combos, easily punishable) so that this is his more powerful DM
- Gets little frame traps options
- little normal attacks gets high priority and almost all have bad recovery and thus easily punishable
- bad high/low mixup (his f.b is unsafe and have very slow startup and no instant overhead)
- can just pass dp.a in combos after cr.light attack
- Haven't viable crossups even if j.d, j.c and j.a can do
Low-tier as Striker
Movelist
THROWS-------------------------------------------------------------------------
Sport Pile
>> When close - b / f + C
Knee Strike >> When close - b / f + D
SPECIAL MOVES------------------------------------------------------------------
Iron Trigger >> qcf + P >> Negates 1-hit projectiles.
Can be followed with Second Shoot or Second Shell.
/Second Shoot >> After Iron Trigger - f + B
/Second Shell >> After Iron Trigger - f + D >> Negates 1-hit projectiles.
Juggles.
Crow Bite >> f, d, df + P >> Evades all normal attacks and specials (A).
Can be followed with Crow Bite follow-up (C).
/Crow Bite follow-up >> After C Crow Bite - f + K >> Overhead.
Minute Spike >> qcb + K >> Can be done in the air.
Blackout >> qcf + K >> Half screen (B).
   Full screen (D).
   Evades normal attacks and projectiles (D).
DESPERATION MOVES--------------------------------------------------------------
Chain Drive >> qcf, hcb + P >> The sunglasses that K' throws can negate any 1-hit projectile.
Heat Drive >> qcf, qcf + P, hold P to charge move >> Unblockable when fully charged. (C)
Combos
- Jump Attack > cl.C (2 hit) > DP+P or qcf,qcf+A
- Jump Attack > cl.C (1hit) > f+A > qcb+B or qcf,qcf+A
- cr.B*1-2 > DP+A
[Juggle Combos]
- f + D after qcf+P > qcb+B or qcf,qcf+A
- f + B after qcf+P > qcb+K or qcf,qcf+A (This combo only passes when opponent is cornered)
[Corner Combos]
- cl.C (1 hit) > f+A > f+D after qcf+A > qcb+K or qcf,qcf+P (This combo passes on some characters like Shingo, Chang or Maxima, not on all characters)
[Note]
There's Second Shell infinity combo when K' is in Counter Mode or Armor Mode. This infinity combo passes when opponent is cornered and hited on air
Frame Data and Hitboxes
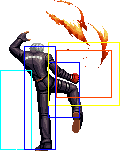
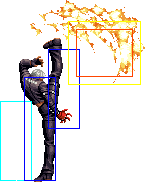
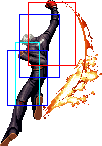
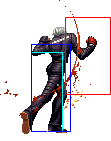
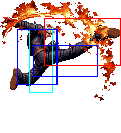
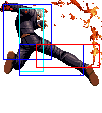
Red Color = Hurtbox
Purple / White Color = Hitbox
H = High
L = Low
C = Cancel
KD = Knock Down
R = Safe on Hit and Block
S = Special Cancel
Su = Super Cancel
For Special Moves :
Black Color = Hitbox
