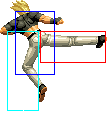
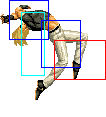
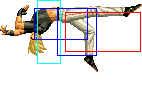
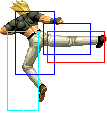
No edit summary |
No edit summary |
||
| Line 317: | Line 317: | ||
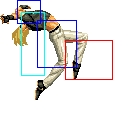
| '''Flying Drill - d+D (air)'''<br> | | '''Flying Drill - d+D (air)'''<br> | ||
|- | |||
|colspan="8" align="center"| '''Special Moves''' | |||
|- | |||
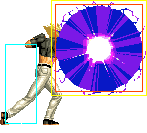
! qcf+[[image:snka.gif]] | |||
|align="center"| / / | |||
|align="center"| / | |||
|align="center"| | |||
|align="center"| HL | |||
|valign="bottom" colspan="2" style="border-right:0px;"| [[image:Beni_qcfA.jpg|center|]] | |||
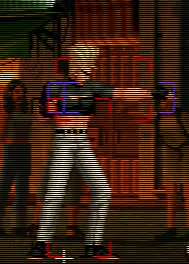
| '''Raijin Ken - qcf+A''' | |||
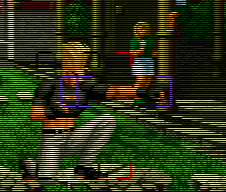
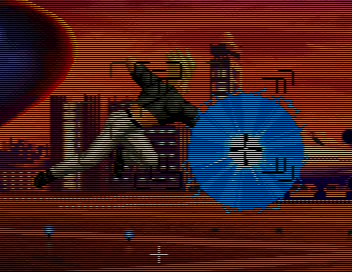
* Benimaru extends his arm forward and a ball of energy surrounds his hand | |||
|- | |||
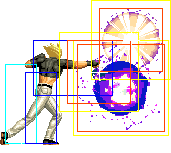
! qcf+[[image:snkc.gif]] | |||
|align="center"| / / | |||
|align="center"| / | |||
|align="center"| | |||
|align="center"| HL | |||
|valign="bottom" colspan="2" style="border-right:0px;"| [[image:Beni_qcfC.jpg|center|]] | |||
| '''Taikuu Raijin Ken - qcf+C''' | |||
* Benimaru extends his arm diagonally upwards and a ball of energy surrounds his hand | |||
* comes out too slow to be reliable as an anti-air, unless the opponent did a high jump from full screen away | |||
|- | |||
! <br>j.qcf+[[image:snka.gif]]<br><br> | |||
|align="center"| / / | |||
|align="center"| -/- | |||
|align="center"| Fi | |||
|align="center"| HL | |||
|valign="bottom" colspan="2" style="border-right:0px;"| [[image:Beni_j_qcfA.jpg|center|]] | |||
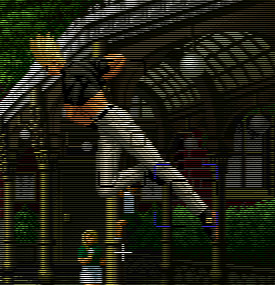
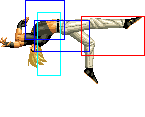
* similar to his qcf+P except done in the air. Benimaru does the attack diagonally downward and it comes out fairly fast | |||
* make Benimaru float in the air for a bit, before coming down | |||
* if Benimaru jumps over the opponent and does this move, Benimaru will face the correct direction | |||
* free cancellable into | |||
|- | |||
! j.qcf+[[image:snkc.gif]] | |||
|align="center"| / / | |||
|align="center"| -/- | |||
|align="center"| Fi | |||
|align="center"| HL | |||
|- | |||
! <br>qcb+[[image:snka.gif]]<br><br> | |||
|align="center"| / / | |||
|align="center"| KD/ | |||
|align="center"| Su,Fi | |||
|align="center"| HL | |||
|valign="bottom" colspan="2" style="border-right:0px;"| [[image:Beni_qcbP.jpg|center|]] | |||
|rowspan="2"| '''Shinkuu Katategoma - qcb+P''' | |||
|- | |||
! qcb+[[image:snkc.gif]] | |||
|align="center"| / / | |||
|align="center"| KD/ | |||
|align="center"| Su | |||
|align="center"| HL | |||
|- | |||
! qcf+[[image:kick.gif]] | |||
|align="center"| / / | |||
|align="center"| / | |||
|align="center"| d,u+K | |||
|align="center"| HL | |||
|valign="bottom" colspan="2" style="border-right:0px;"| [[image:Beni_qcfK.jpg|center|]] | |||
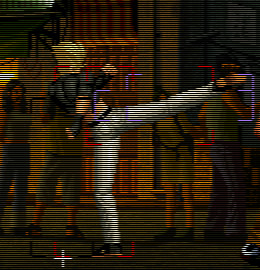
| '''Iai Geri - qcf+K''' | |||
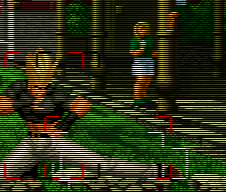
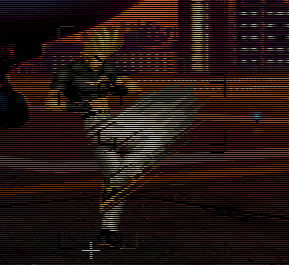
* Benimaru does a quick knee | |||
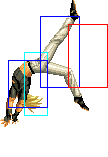
* If the second active period hits, it couses hard knockdown, and on counterhit, counterwires. | |||
* can be followed up by Handou Sandan Geri d,u+K on hit or whiff, 5 frames after the active period. | |||
* free cancellable into | |||
|- | |||
!rowspan="2"| > d,u+[[image:snkb.gif]] | |||
|rowspan="2" align="center"| 7/3(9)1+2+2/19+11 | |||
|rowspan="2" align="center"| KD/-17 | |||
|rowspan="2" align="center"| Fo | |||
|rowspan="2" align="center"| HL | |||
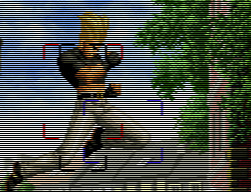
|valign="bottom" style="border-right:0px; border-bottom:0px;"|[[image:Beni02_duB1.png|center]] | |||
|valign="bottom" style="border-left:0px; border-bottom:0px;"|[[image:Beni02_duB2.png|center]] | |||
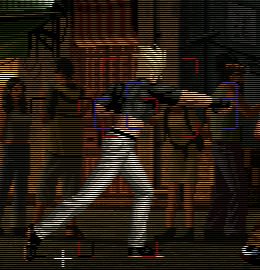
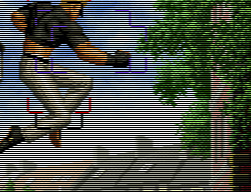
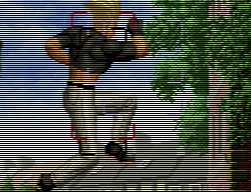
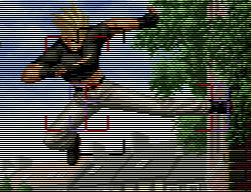
|rowspan="4"| '''Handou Sandan Geri - d,u+K (after qcf+K)''' | |||
|- | |||
|valign="bottom" style="border-right:0px; border-top:0px;"|[[image:Beni02_duB3.png|center]] | |||
|valign="bottom" style="border-left:0px; border-top:0px;"|[[image:Beni02_duB4.png|center]] | |||
|- | |||
|- | |||
!rowspan="2"| > d,u+[[image:snkd.gif]] | |||
|rowspan="2" align="center"| 8/3(8)1+2+2/31+18 | |||
|rowspan="2" align="center"| KD/-44 | |||
|rowspan="2" align="center"| Fo | |||
|rowspan="2" align="center"| HL | |||
|valign="bottom" style="border-right:0px; border-bottom:0px;"|[[image:Beni02_duD1.png|center]] | |||
|valign="bottom" style="border-left:0px; border-bottom:0px;"|[[image:Beni02_duD2.png|center]] | |||
|- | |||
|valign="bottom" style="border-right:0px; border-top:0px;"|[[image:Beni02_duD3.png|center]] | |||
|valign="bottom" style="border-left:0px; border-top:0px;"|[[image:Beni02_duD4.png|center]] | |||
|- | |||
|colspan="8" align="center"| '''DMs''' | |||
|- | |||
! qcfx2+[[image:snka.gif]] | |||
|align="center"| / / | |||
|align="center"| KD/ | |||
|align="center"| | |||
|align="center"| HL | |||
|colspan="2" | [[image:Beni_qcfx2_A.jpg|center]] | |||
| '''Raikou Ken - qcfx2+A''' | |||
* Benimaru extends his arm forward and an electrical ball surrounds his hand, larger than his qcf+A | |||
|- | |||
! qcfx2+[[image:snkc.gif]] | |||
|align="center"| / / | |||
|align="center"| KD/ | |||
|align="center"| | |||
|align="center"| HL | |||
|colspan="2" | [[image:Beni_qcfx2_C.jpg|center]] | |||
| '''Taikuu Raikou Ken - qcfx2+C''' | |||
* same as the Raikou Ken qcfx2+A but instead he extends his arm in a 45 degree angle | |||
* decent for anti-airing high jumping opponents as long as you reacted the moment they left the ground, but comes out too slow to punish hops | |||
* | |||
* A: Invincibility Frame 1-2. C: Invincibility Frame 1-6. Upper body invincibility: Frame 7-14. | |||
|- | |||
! qcfx2+[[image:kick.gif]] | |||
|align="center"| 15/-/30 | |||
|align="center"| KD/-13 | |||
|align="center"| | |||
|align="center"| HL | |||
|colspan="2"|[[image:Beni02_qcbx2K.png|center]] | |||
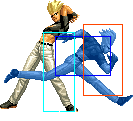
| '''Gen'ei Hurricane - qcbx2+K''' | |||
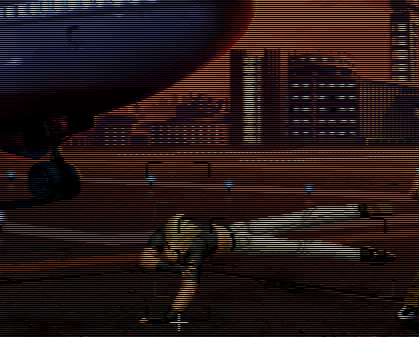
* Benimaru disappears and a shadow of him quickly moves across the screen. If it connects when the opponent is on the ground, he will combo the opponent | |||
* if the first hit hits the opponent in the air, the rest of the hits won't connect | |||
* hard knockdown (if all the hits connects) | |||
|- | |||
|colspan="8" align="center"| '''SDM''' | |||
|- | |||
! qcfx2+[[image:snka.gif]]+[[image:snkc.gif]] | |||
|align="center"| /-/ | |||
|align="center"| KD/ | |||
|align="center"| | |||
|align="center"| HL | |||
|valign="bottom" style="border-right:0px;"|[[image:Beni02_qcfx2AC1.png|center]] | |||
|valign="bottom" style="border-left:0px;"|[[image:Beni02_qcfx2AC2.png|center]] | |||
| '''Raikou Ken - qcfx2+AC''' | |||
* | |||
* | |||
* | |||
|- | |- | ||
Revision as of 13:57, 24 September 2018
Introduction
The famous electric seducer and Kyo's Friend in KOF. Top-tier character (best character of game among no-banned characters). Existing in all the teams or almost.
Gameplay Overview
Benimaru builds meter fastly with his meterless combos and Dizzy fastly also.
Gets a very good mixups with his crossup j+D, his long range move (cr+C) where you can option select with (at 2:33 of this video), his cr+B to pressure, his instant overhead (j+B) who can be useful after cr+B, his st+B to poke (invincible move), his j+qcf+P to chip damage opponent, his air throw etc
High priority normal attacks with st.B, j+CD, cl.D, st.D , neutral j+D , j+D and his cr+D
His cr+C permits to pass opponent's jump attacks.
His main combo : cr.B, cr.B xx qcf,qcf.A must be mastered.
His problem in this kof is that except his Raijin Ken (qcf+C), he doesn't really get anti-air moves, what can be a problem versus Choi.
Mid-Tier as Striker.
Movelist
THROWS-------------------------------------------------------------------------
Catch and Shoot >> When close - b / f + C
Front Suplex >> When close - b / f + D
Spinning Knee Drop >> When close in the air - any dir. except u + C / D
COMMAND ATTACKS----------------------------------------------------------------
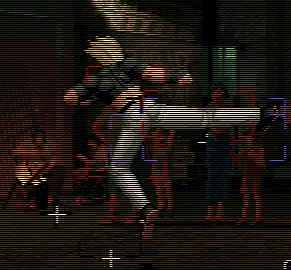
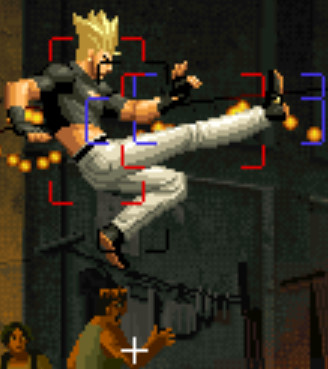
Jackknife Kick >> f + B >> No Overhead.
   Evades several low attacks.
   Can be cancelled into a special move or DM move.
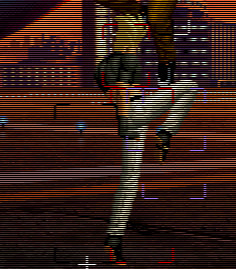
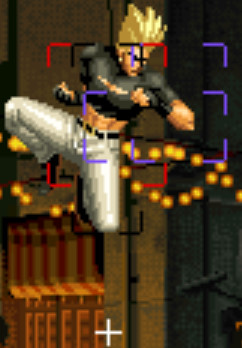
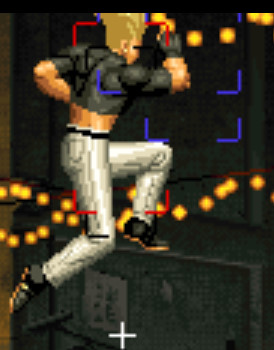
Flying Drill >> In the air - d + D
SPECIAL MOVES------------------------------------------------------------------
Iai-geri >> qcf + K >> Can be followed with Handou Sandan Geri.
/Handou Sandan Geri >> After Iai-geri - d, u + K
Shinkuu Katategoma >> qcb + P
Raijin Ken >> qcf + P
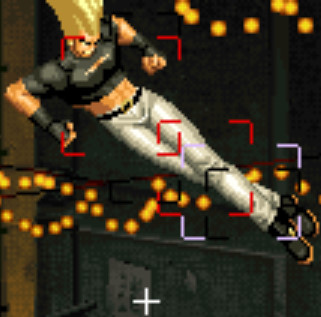
Kuuchuu Raijin Ken >> In the air - qcf + P
DESPERATION MOVES--------------------------------------------------------------
Raikou Ken >> qcf, qcf + A
Gen'ei Hurricane >> qcf, qcf + K >> Evades 1-hit strong normal attack and specials.
Combos
cr.Bx1-3 > qcf+K > d,u+K
cr.C > qcb+C or qcf,qcf+A
Jump Attack > cl.C or cl.D > qcf+P or qcf+K or qcb+P or qcf,qcf+P
cr.Bx1-3 > qcf,qcf+A
